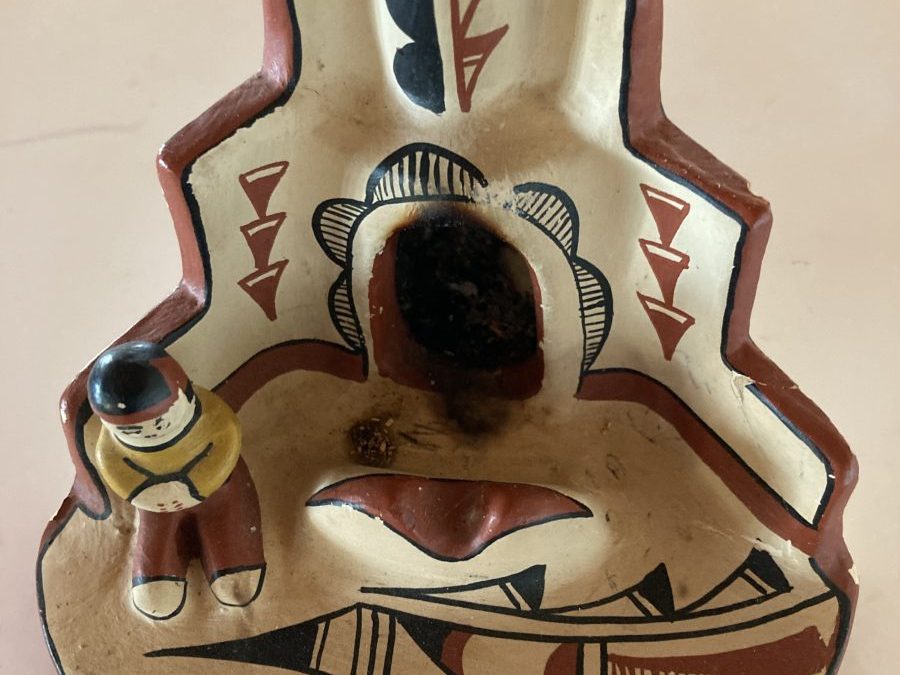
I’ve had this incense burner that I bought in some NPS bookstore years back when they sold actual native crafts made locally–and thought it would make a good template for a small chiminea. I am now in Tucson picking up the project begun last Spring. I’ve been trimming back a lot of deadwood mesquite so have an abundance of firewood. Mesquite contains some parasite mistletoe which will eventually kill the tree however the birds like the berries, particularly the phainopepla or Mexican cardinal. I leave a few mistletoe but have a lot of mesquite firewood now that is very resinous and aromatic so thought a simple outdoor fireplace would be both fun to build and a nice gathering place. I first looked at a free-standing one. These are all over Tucson at nurseries and run few hundred dollars. And then I thought of my little incense burner….. Well, one brick at a time, my project grows bigger….

Not to cause any confusion, I scale out this project and later raise it 1′ to make two benches on each side of the firepit. I extend the wings also by 2′. Getting bigger…..
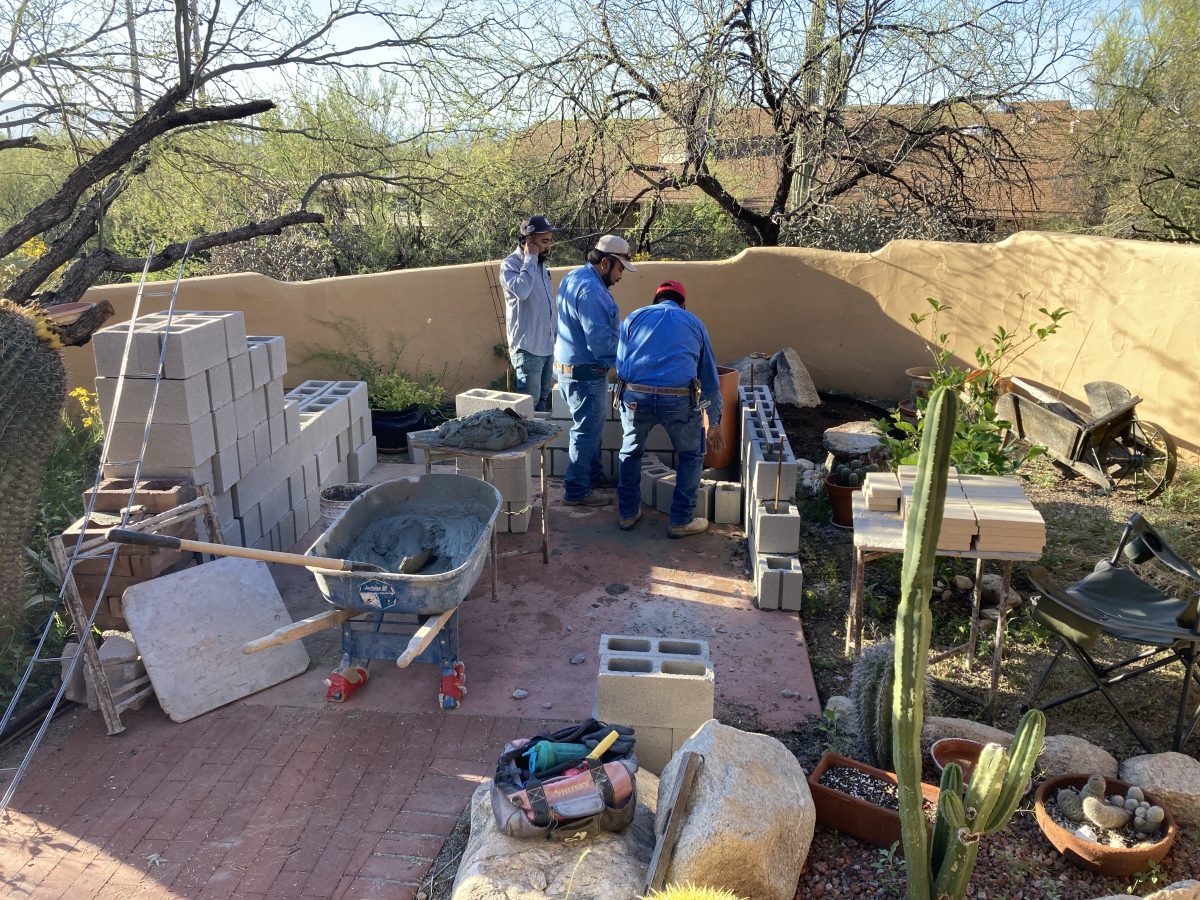
Then I go down to price cement block and find a contractor. “Senior” and his son, “Junior” show up for an estimate and we’re off and running. I still don’t know their names. Senior speaks little English and my Spanish is pretty rusty so I go through Junior for instructions. And here we lose something in the translation, so they say….. They estimated $3500 for my drawn sketch and $5000 for this expanded project. And that’s if I don’t coach. However, I need to keep an eye on this project…..
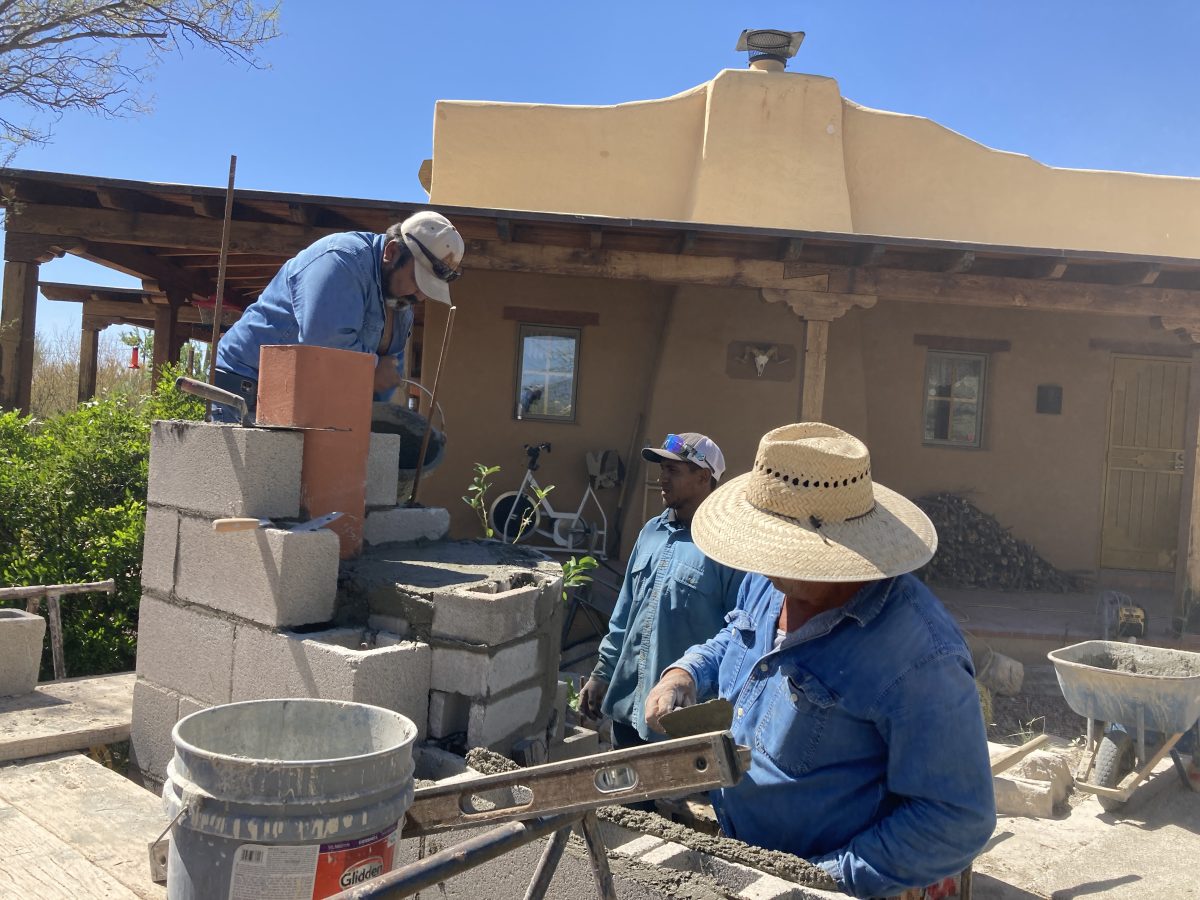
 Junior inspects the morning’s progress. They squeezed this project in on the weekend and had five guys swinging block, mixing mortar and sweating in the hot sun beginning at 7am!
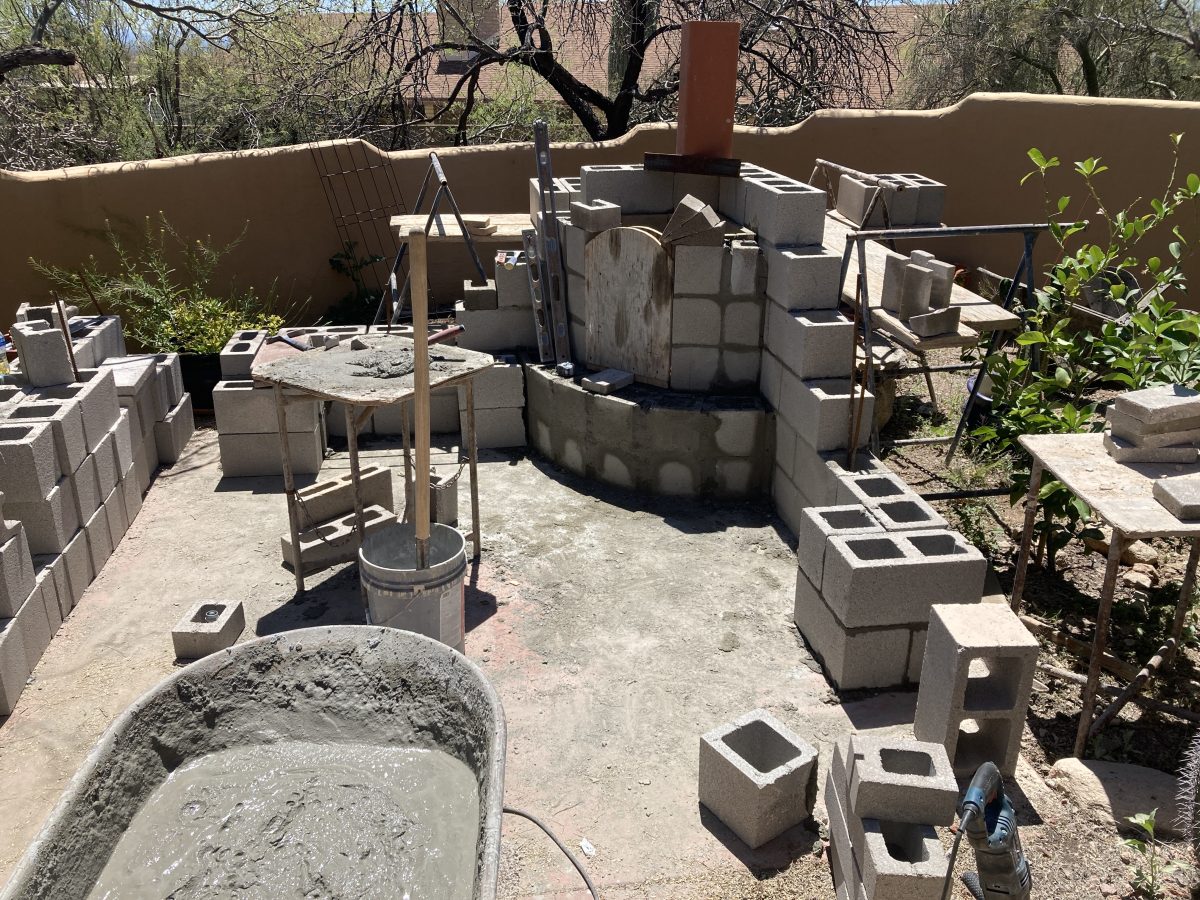
Senior is building a chiminea like one in a photo I showed him and not according to plans. Here “la boca” or fireplace aperture is 15 degrees to the south and crooked and asymmetric. He insists it will all come out even when the stucco is applied but I protest. It sets up overnight and the next morning it is a disaster…..La Boca (literally the mouth) looks worse than a Donald Trump phony sneer.
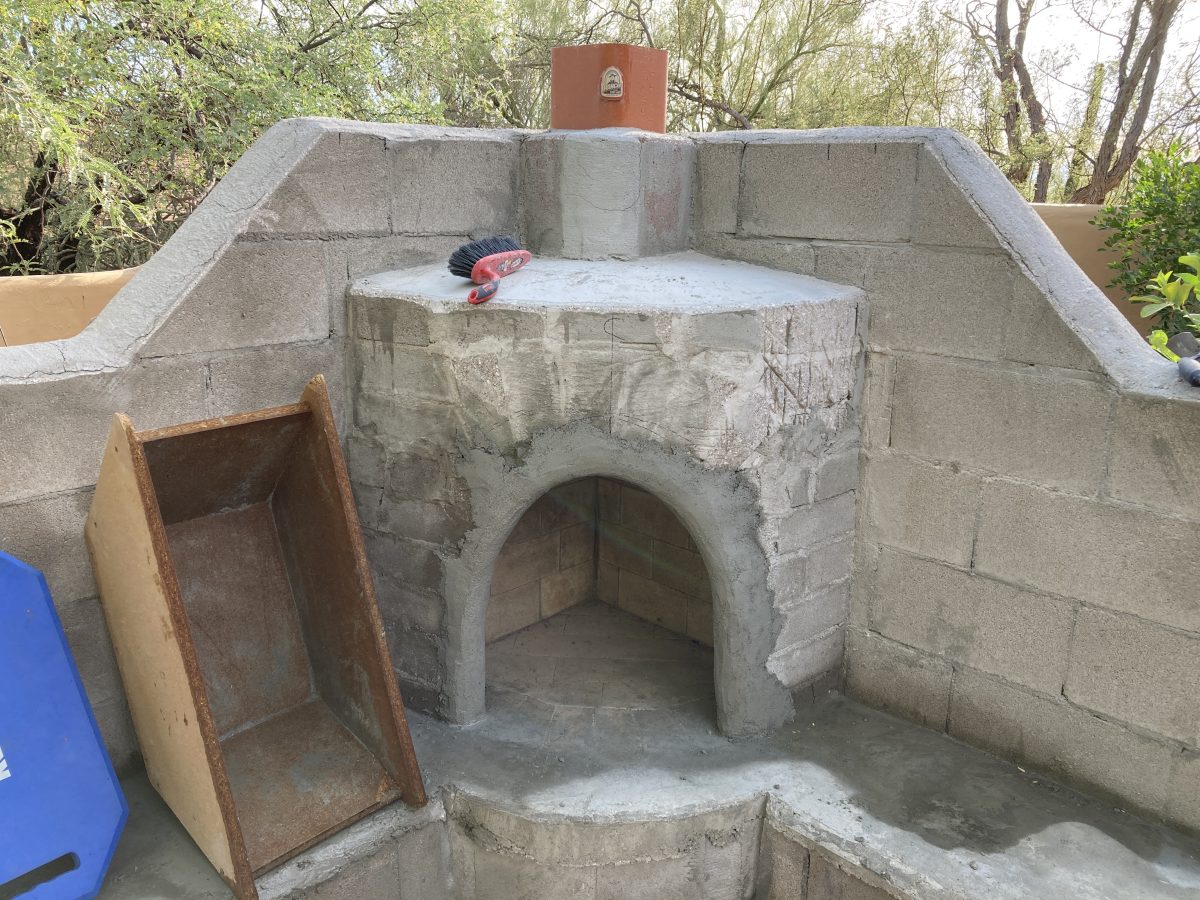
The chiminea is installed in the chiminea. Eight inch square–the plans called for round. Senior explains they don’t have the round. I think this came off another project.
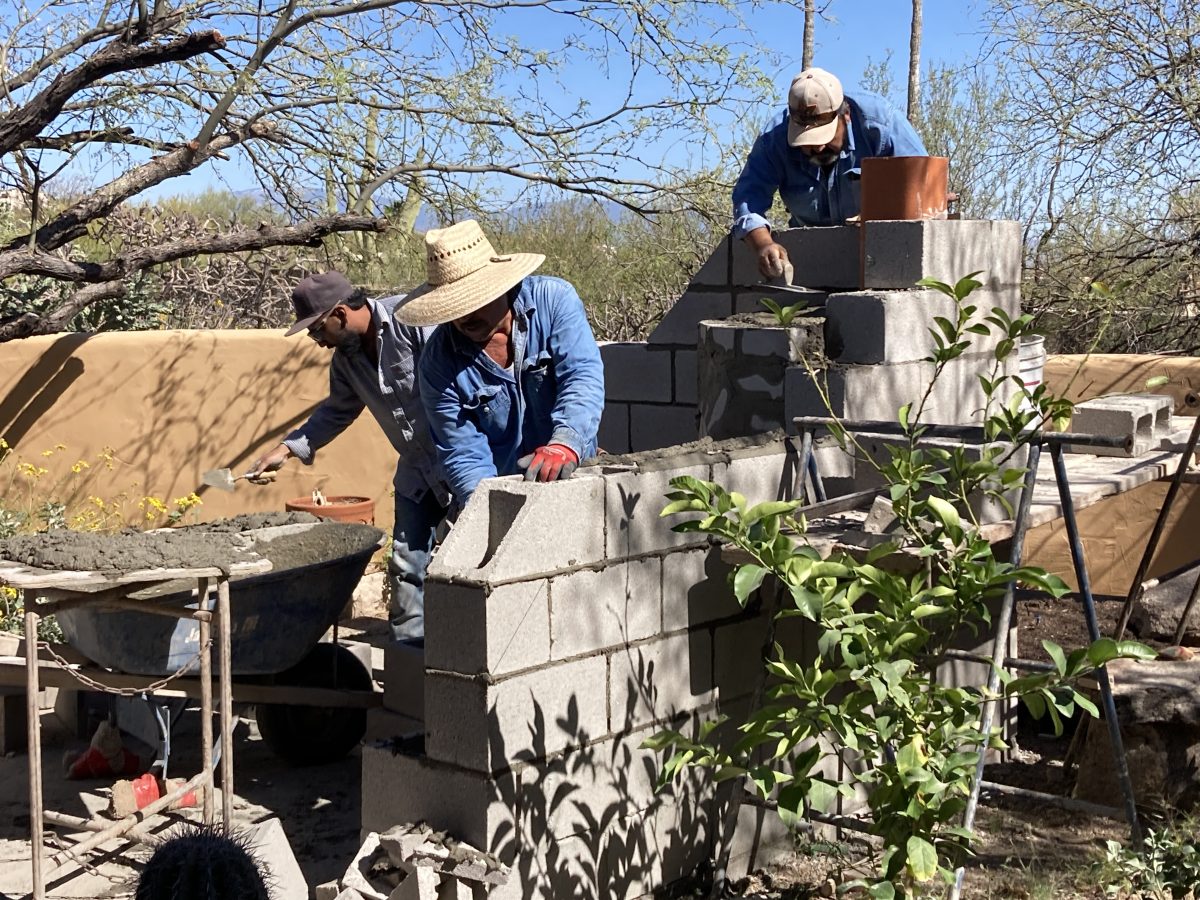
The wing-walls and seating area. I’ll give credit to the block layer–the guy closest with the big hat–he could lay up a wall fast and straight.
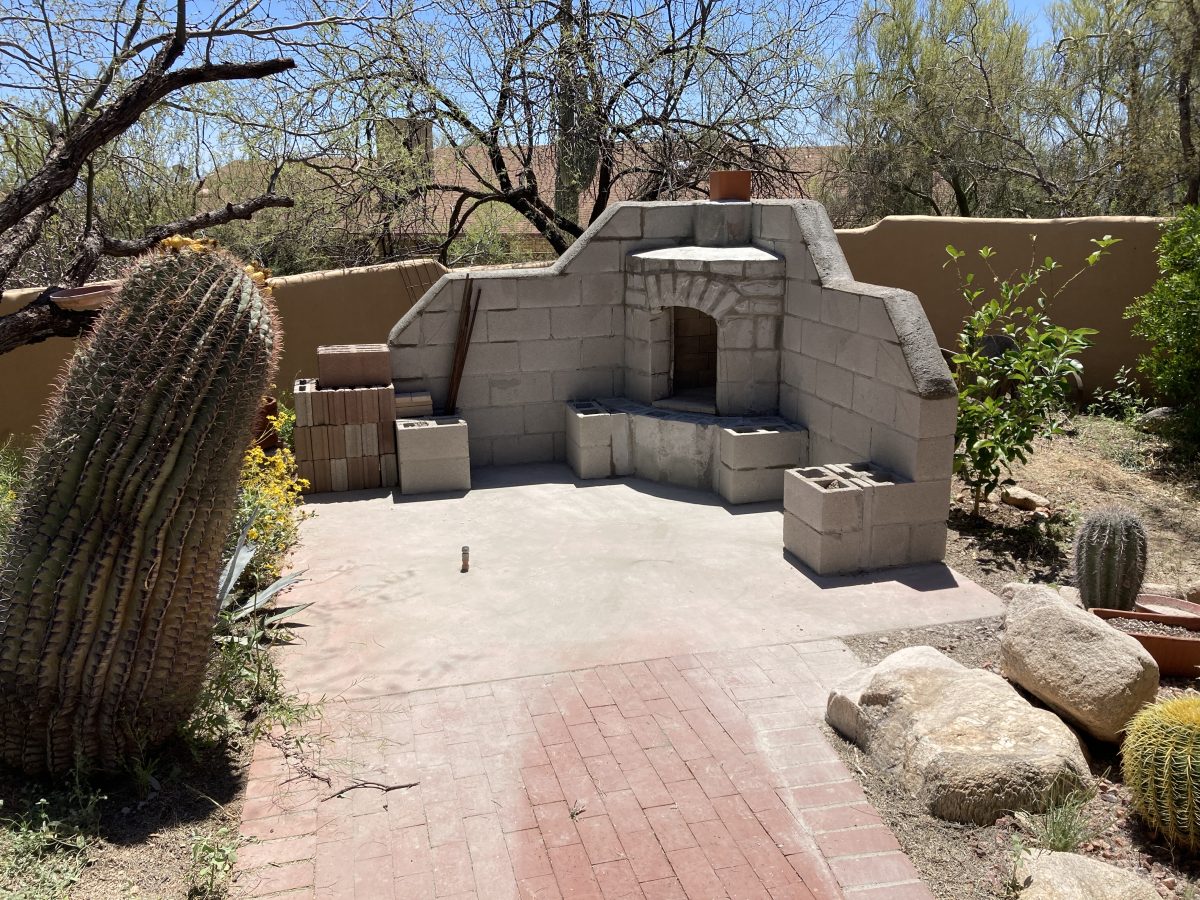
So here’s where we got to last spring and began the arguments about taking out this crooked “boca.”

Este hombre tiene piernas flacas and dos brazos esquerdos*. Crooked, wall thickness too thick, width of the opening too narrow and what’s with this arch? Well, Senior says, the customer is always right before he leaves taking all the bricks with him. This is the way of business today in Tucson. I journey north for the summer to escape the Tucson heat. It is a burner–and when I return in the fall it is still blistering hot–109F for another two weeks.
(*This guy has skinny legs and two left arms.)
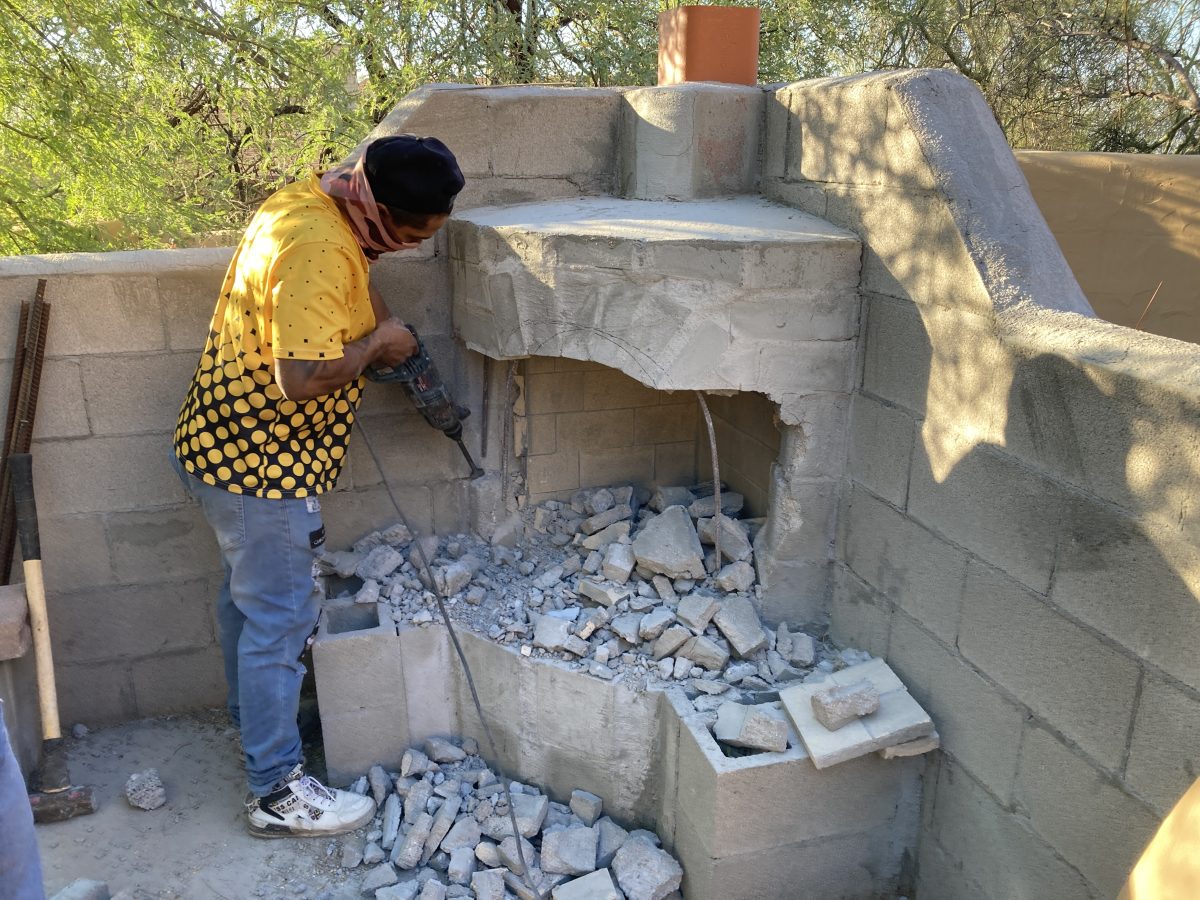
Senior and Junior come over and the destruction begins. What a mess and by now I’ve written $3750 in checks. This project has gone off the rails and continues to do so when they want me to pay more to fix their mistakes. Then Senior states (through Junior) that I didn’t want an actual fireplace–just a fake one for show. I replay the insult in the previous paragraph and tell him “You’re fired!,” a phrase borrowed from an orange haired idiot. For those of you who aren’t following me in this election week–this is who I am referring to. Like most places in Alaska, if you want something done right, you do it yourself.
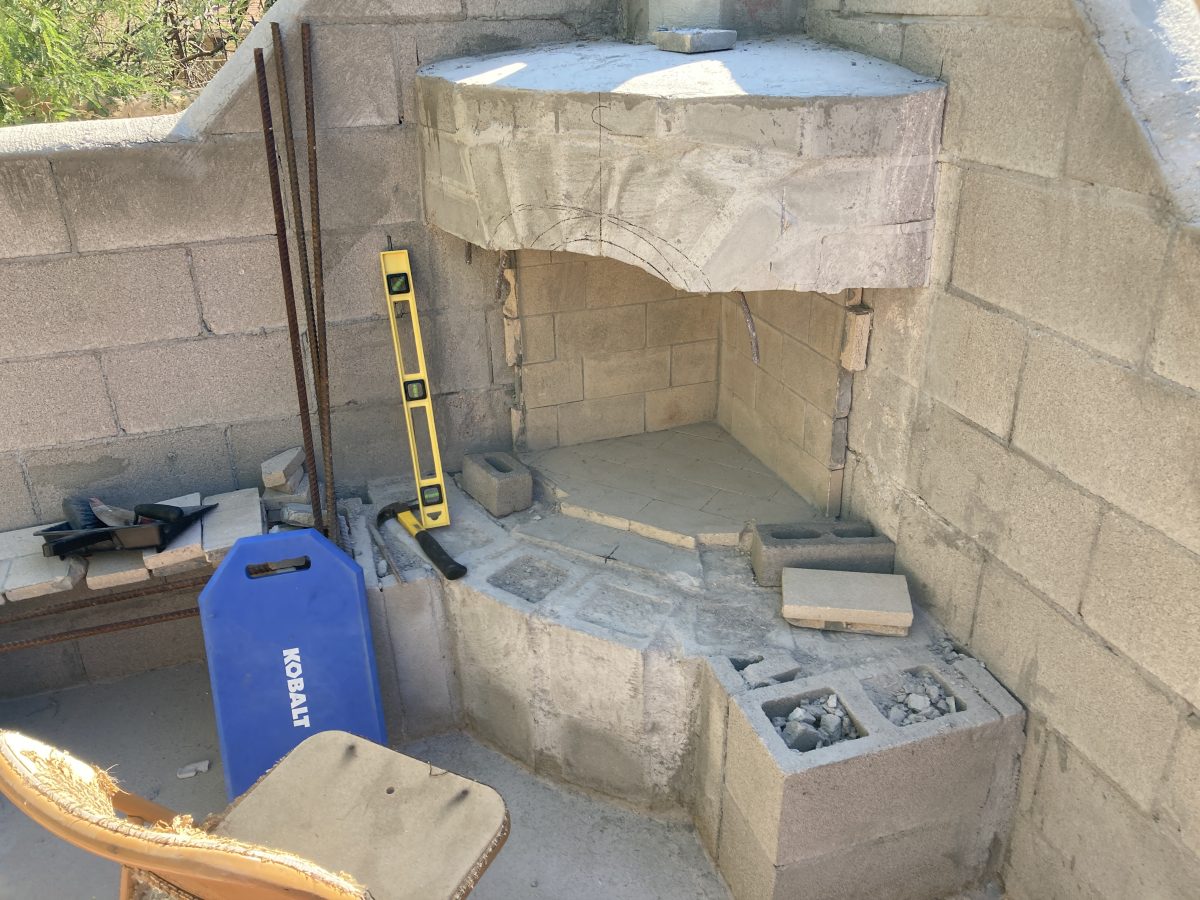
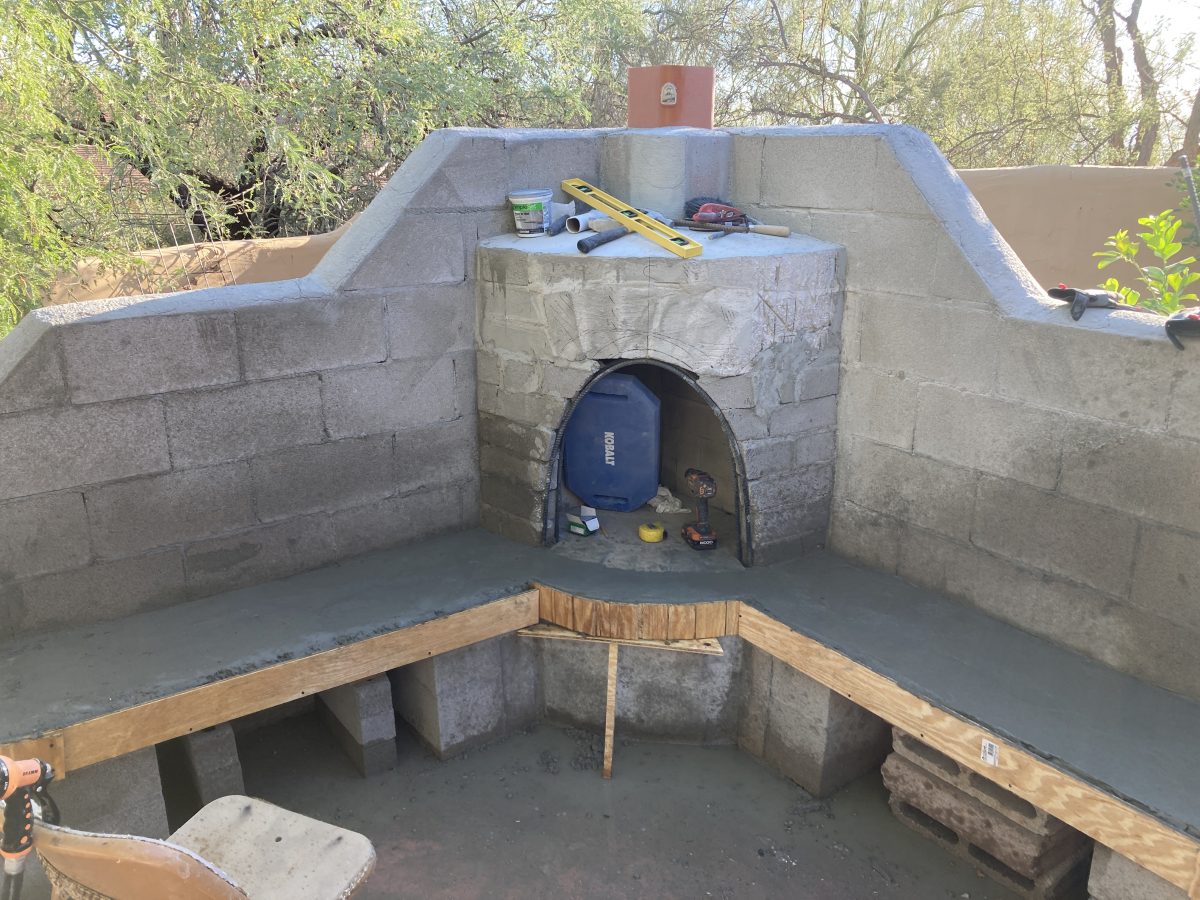
After morning cleanup, this is my starting point. I leave the firebrick floor in even though it’s 15-20 degrees off center–I’ll create an illusion with a final row…….sheesh. I notch in rebar for the seats and another rebar arch for the “boca.” I will have to come up with a plan to create a stable arch…..
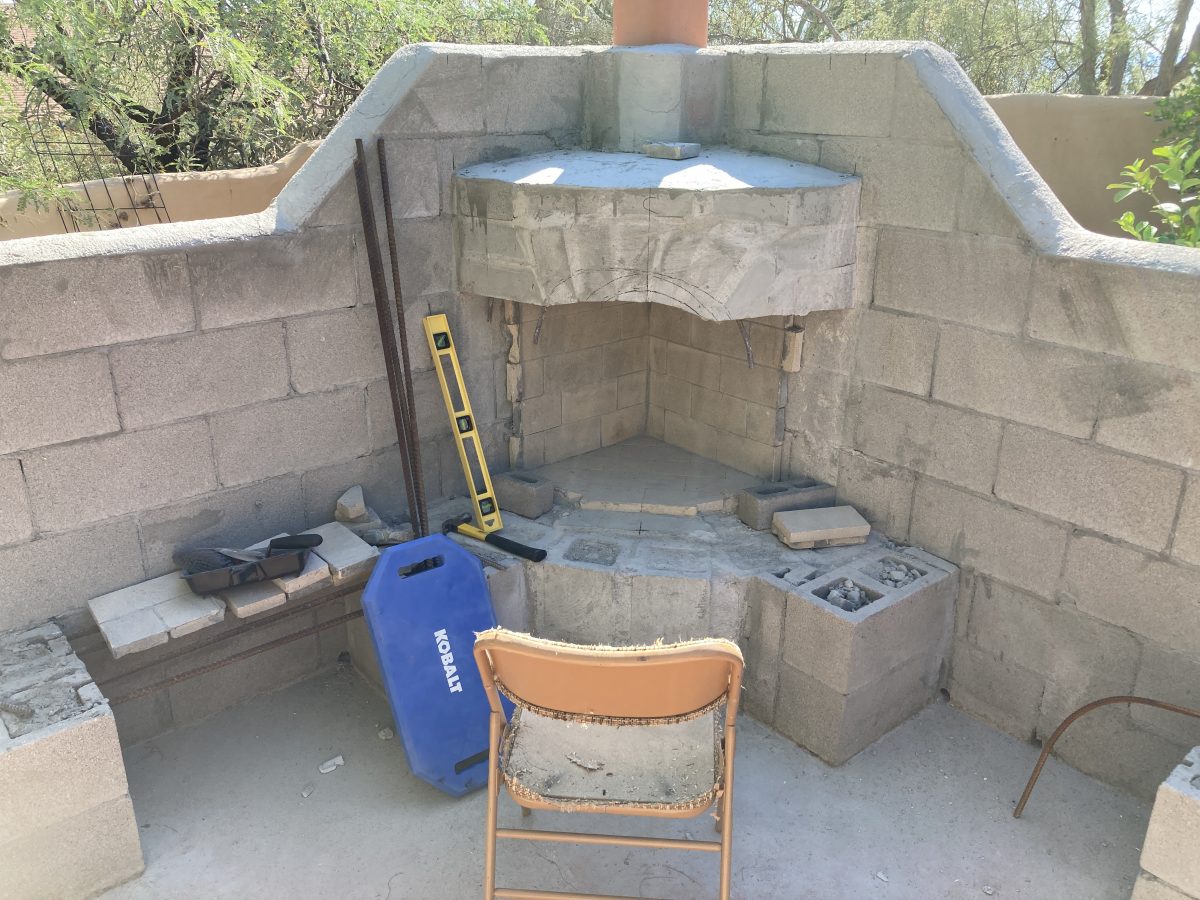
Get a foam knee-pad for jobs like this. I spend half my time pondering problems from this chair.
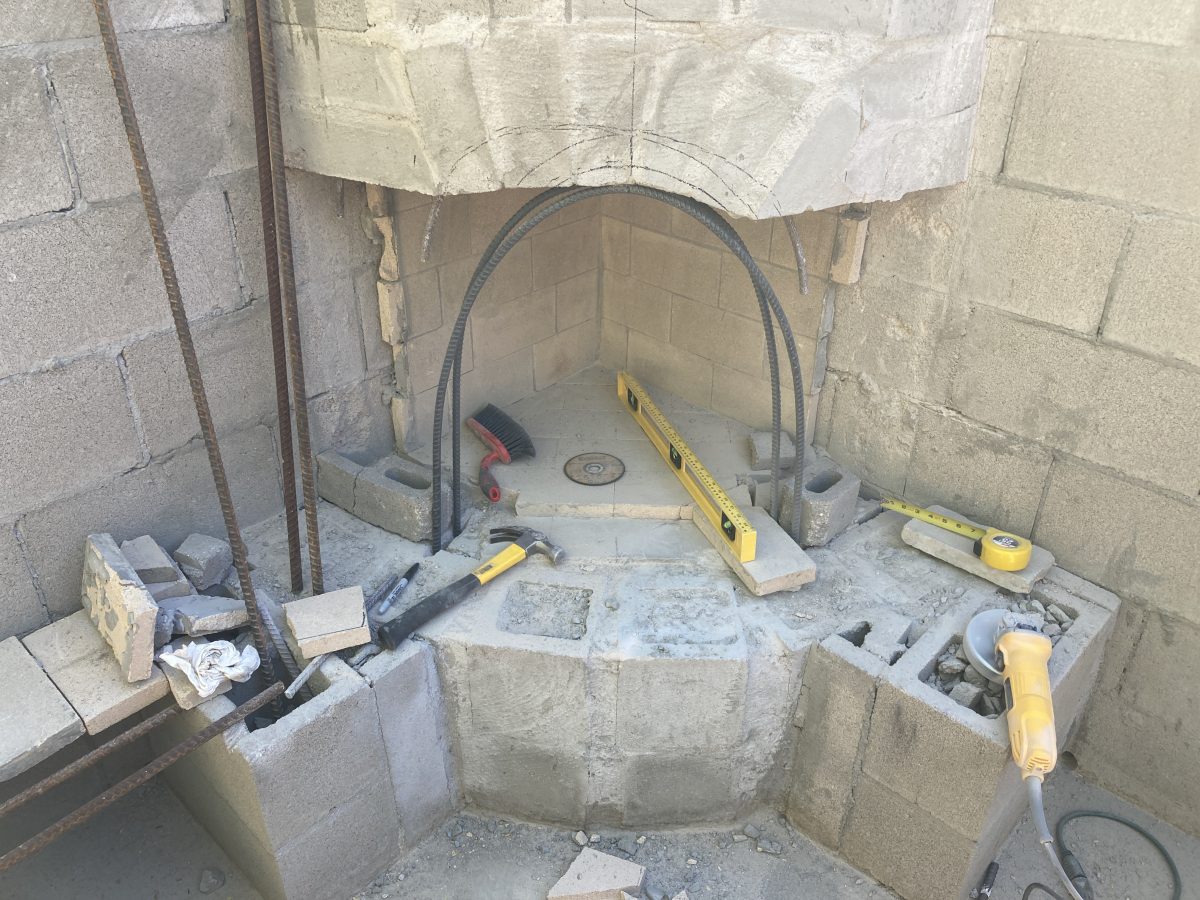
I lay out two 4″ blocks to establish the 24″ width and arch rebar around a tree trunk to create this shape. Where Senior went wrong is not realizing that 10″ thickness is not needed, nor desired here as each wall slopes to the back corner at approximately 45 degrees. Also–each arch-rebar here is a different shape to follow these contours. La Boca that Senior built had an opening of only about a foot. I drill into the masonry to anchor them and then lay block custom shaping each one. I spend about 2 hours to get to this point. A cheap DeWalt grinder and $7 masonry cutting wheel and I’m off and running.
In another two hours I finish the masonry implanting short rebars between brick courses.
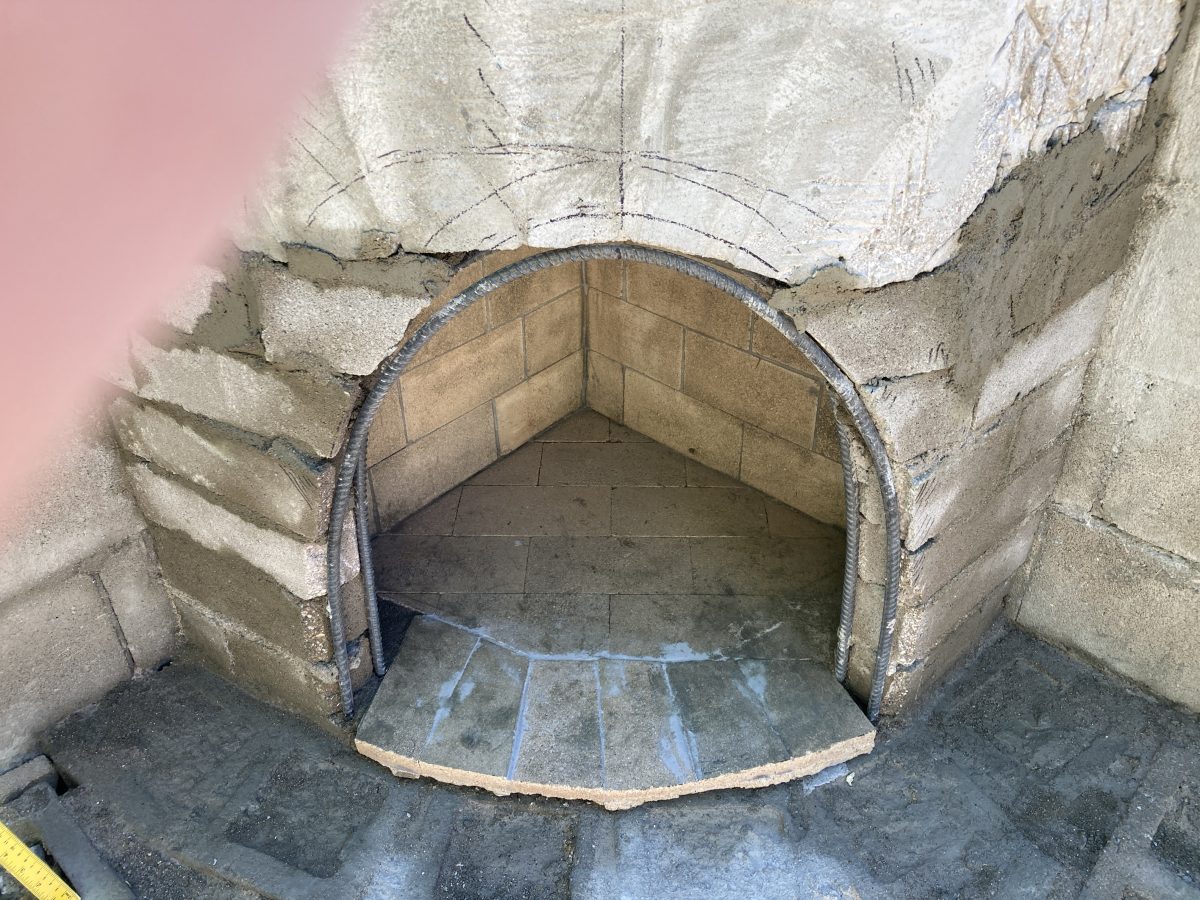
It doesn’t look pretty but the the stucco finish will smooth everything out. I mark all the high places with a felt tip pen. The hearth firebrick is a compromise–I had none left so recycled these–and they’re still a little off. And yes, that’s my thumb in the upper right–why can’t Apple put these lenses somewhere else.

Next step is the benchwork–I embed rebar across the span–firewood will be stored under these benches. I also drilled two holes to let the water drain out–the slab is slightly tipping towards the chimney. Junior drilled one drain on the right wing-wall and then cemented it over with the bench pedestal block. We don’t get a lot of rain here.
Formed up and poured benches and hearth. While walking out the morning of this phase, I stepped on a steel-wrapped garden hose (popular here with all the sun) and it upended me 180 degrees–worse than stepping on a roller skate. I crashed down on a brick corner of my patio and broke two ribs. Not wanting to lose any progress, I then hauled 10 60# bags of concrete and three 90# bags of stucco to the job-site.
The arch-work is tricky. Normally this would be built first but the rebar will have to “grab” the concrete. But I need a form somehow. The bottom section is nearly vertical so I cut a 4″ ABS coupling in half, lengthwise, and glue it together to make an 8″ long trough but with a 20 degree angle. When I hold it agains the edge I can fill and slide the ABS up. Seems to work about half way and then the concrete falls out.
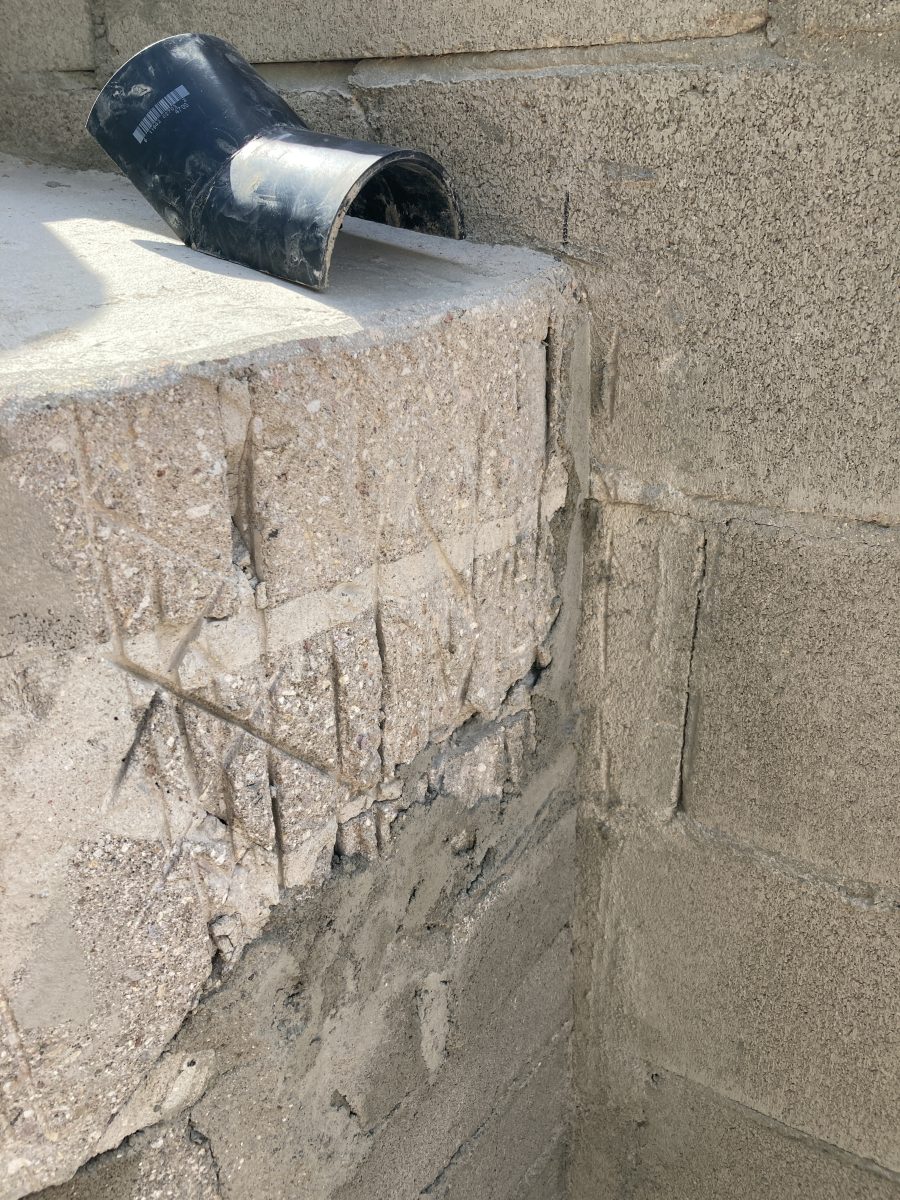
This is how I blended the old wall and my newer one (lower). I had to cut back about 1-1/2″ of masonry–to make both sides equal–and the extent of the “reach” of the masonry saw. On top of the firebox you can see the very clever custom “trowel” I built out of ABS; cost $4.56 plus can of cement. (Use the black cement, not the PVC stuff which won’t melt the plastic). This worked pretty good up until I got half way up the arch.
Here it has been raised in place after banging with the hammer and shimmed with two bricks and two trowels.
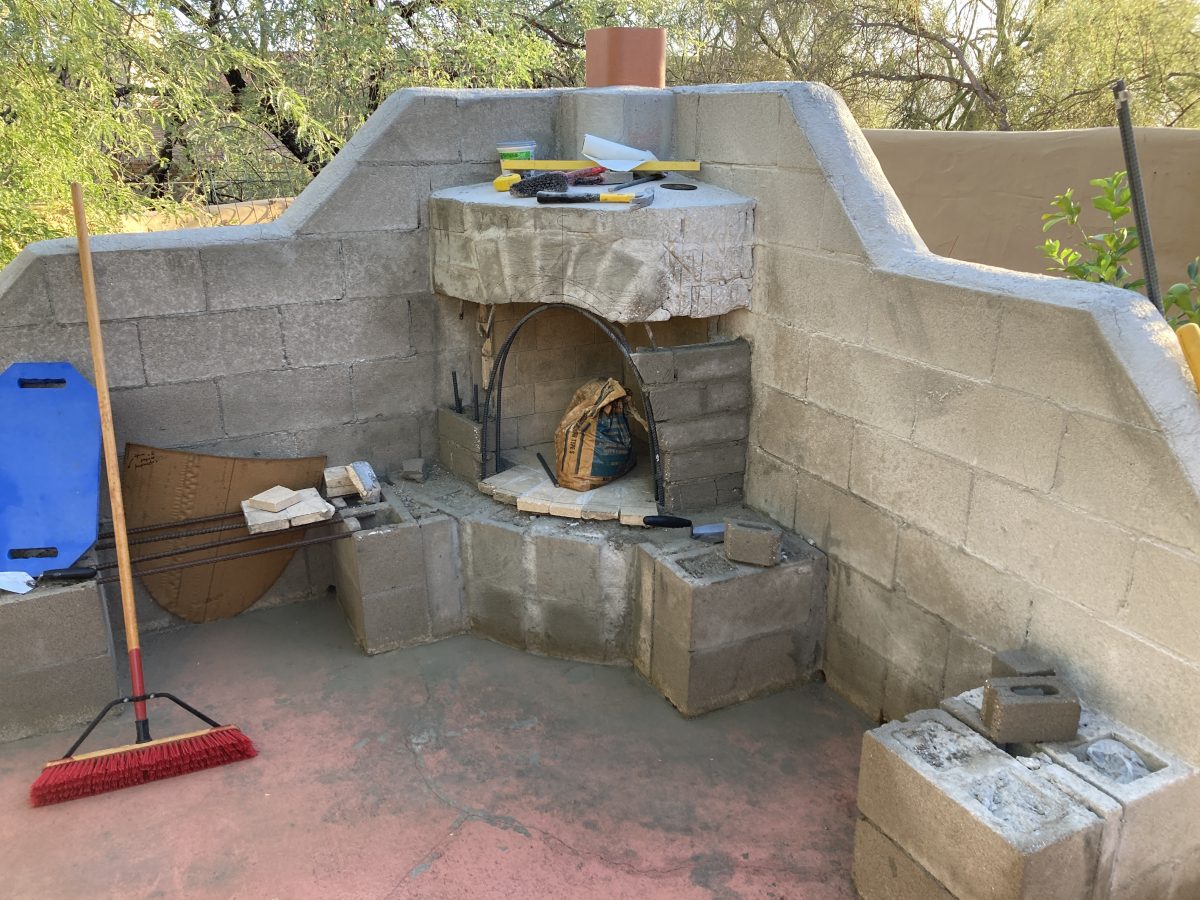
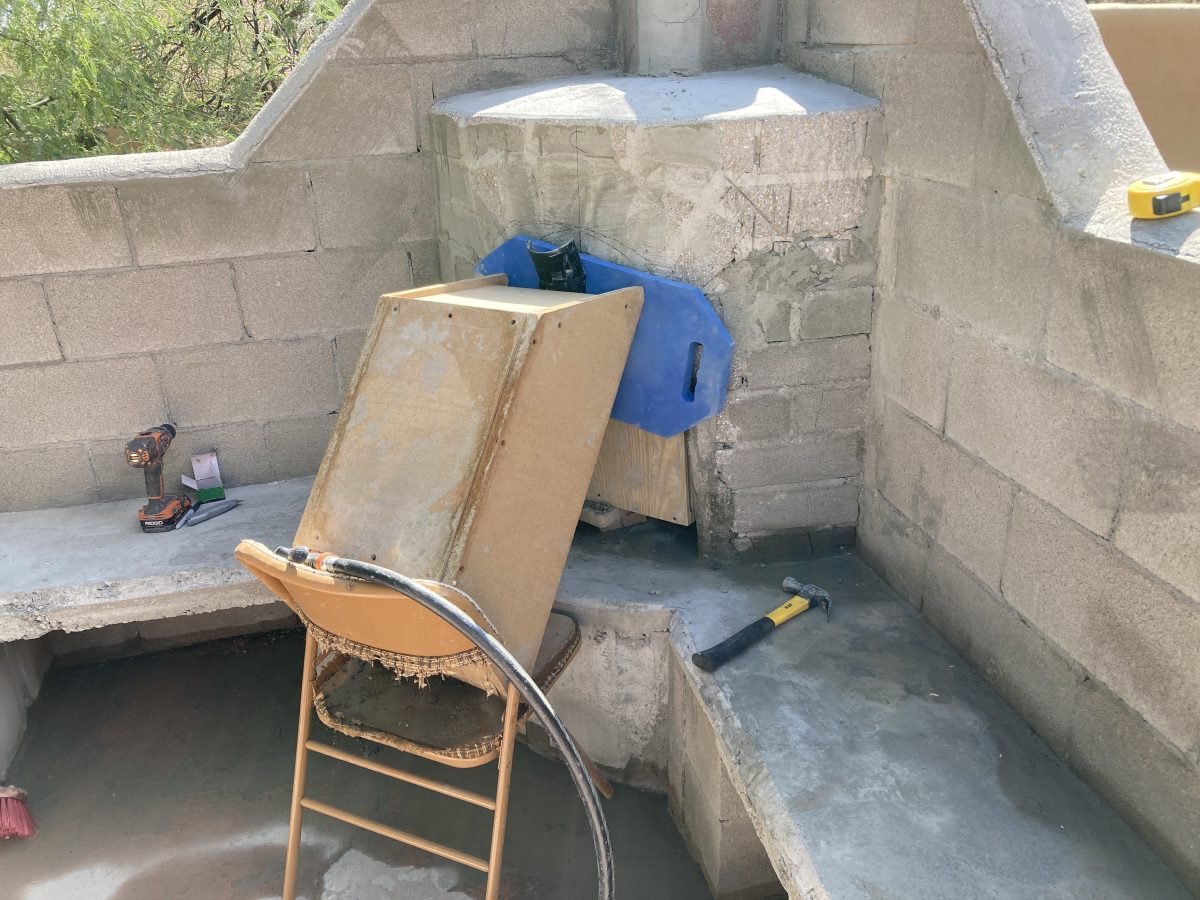
This whole assembly is a bit of Rube Goldberg and Forrest Gump carpentry. The cement mixing box balances on a chair that leans in on a knee-mat to form the ribbed flexi-pipe to the face of the firebox. My ABS trowel captures the middle of the arch. This concrete mix sets in one hour (faster with the hot water and heat of the day), so I wait two before undoing everything……..
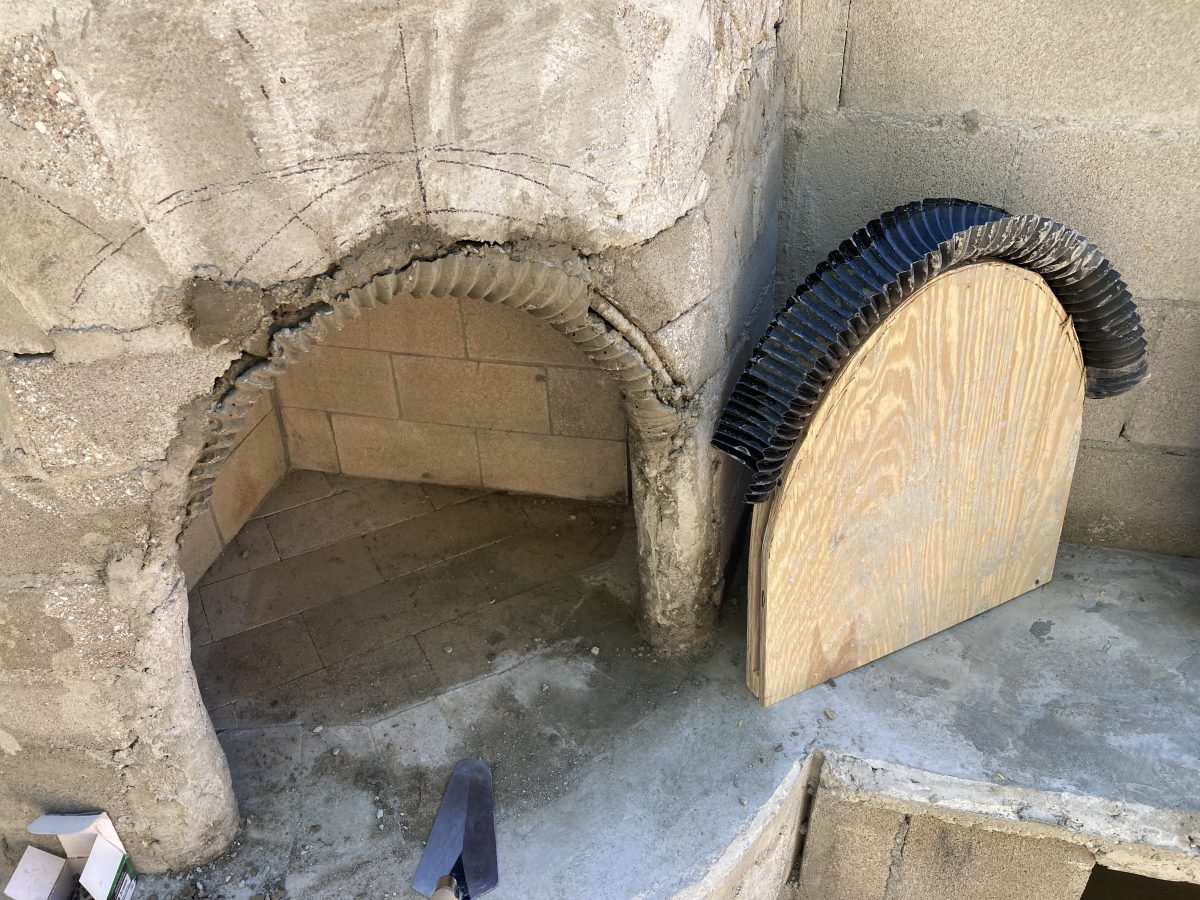
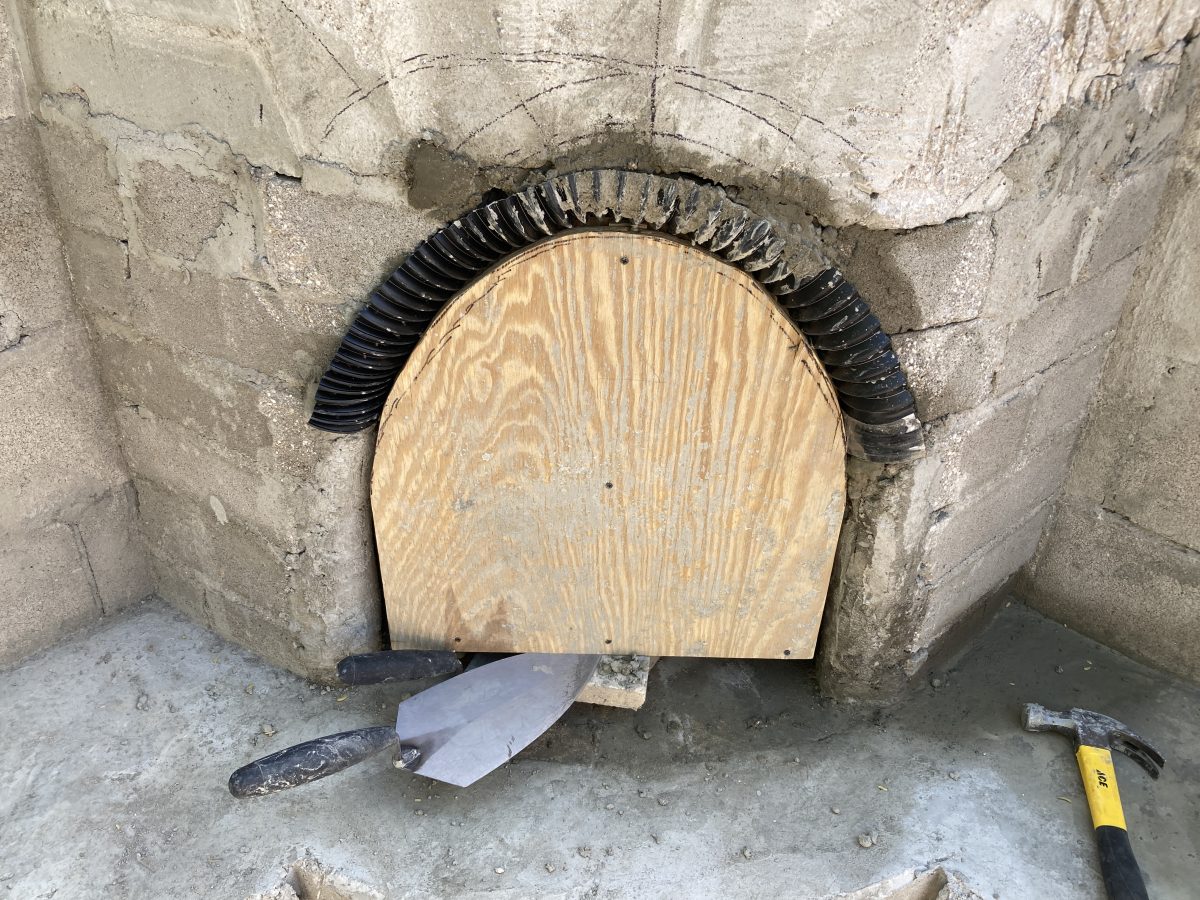
This is my final assemblage of plywood, and flexi-pipe after the concrete in the arch set. This flex-pipe worked very well–expanding out and becoming very thin. Actually, the roughness and voids will help adhere the final stucco. Hope this works.
My first lesson on applying stucco. I first try on the end of one the wings and then finish “La Boca.” The key with stucco (I use La Habre) is to keep it loose and dampen the walls first. Most cements have an initial “set” in about 15 minutes and need to be constantly worked. I mix about 8 trowel fulls each mix and then tip the box as shown here and work with two small trowels. Small amounts and light pressure–this is a tough area with gravity working against me. The the texture I’m using is called “Old Spanish Style.” This is where I am tonight November 2. I’ll post each day until I’m finished. Oh…one last little finishing touch:
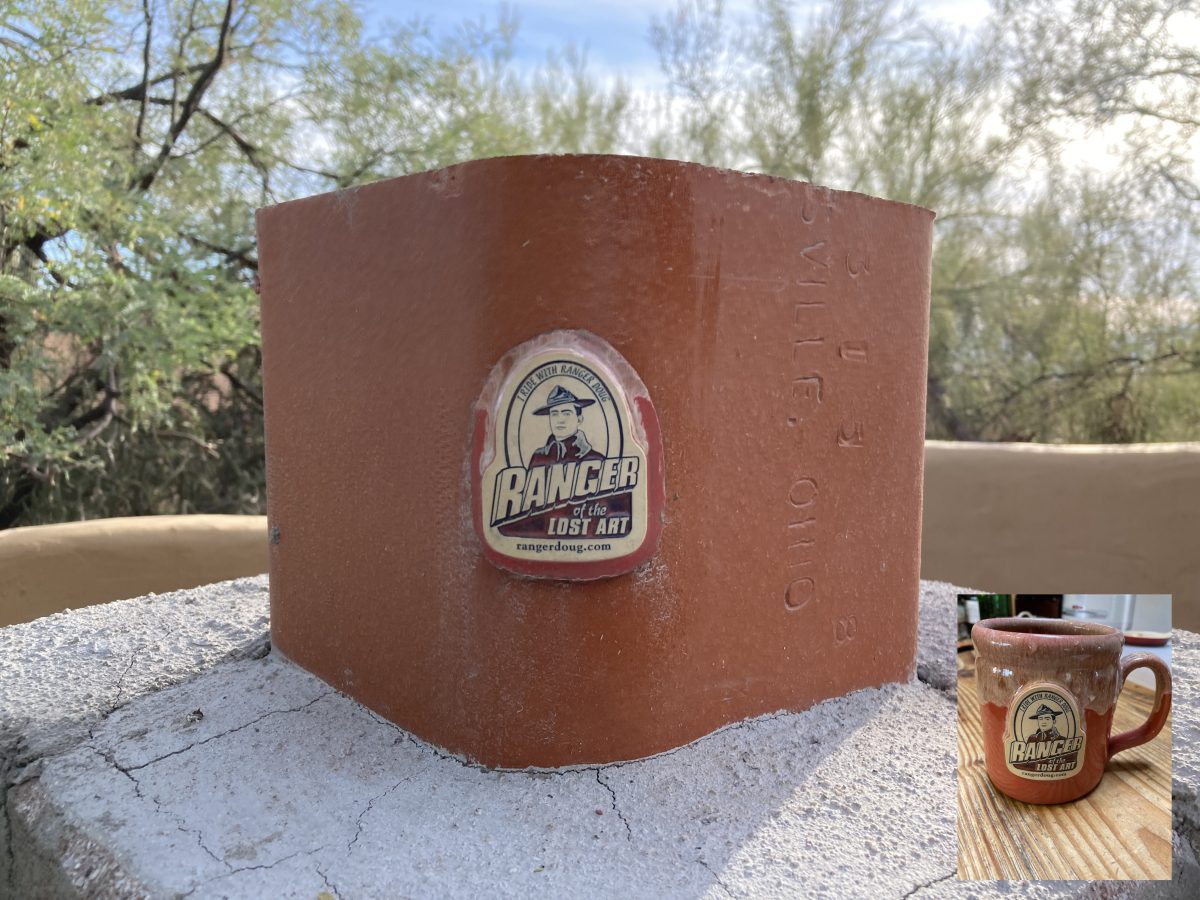
I broke one of my Ranger Doug mugs the other day. The logo survived so I took my $7 masonry cutting tool and shaped it out and glued it on the chiminea….. Perfect color and perfect fit. On to the stucco and paint…..patio-deck paint, two motifs compliments of the WPA* ,and……..lipstick on “la boca.”
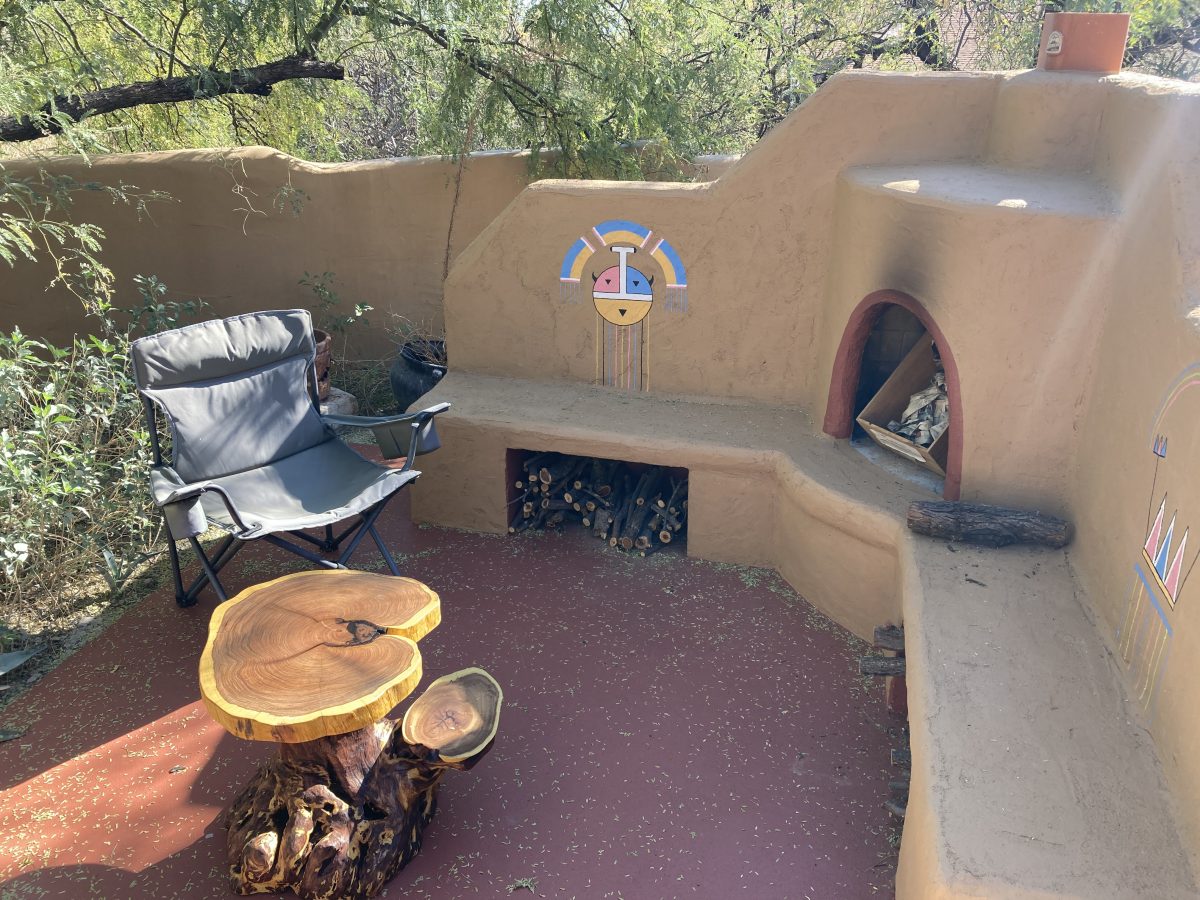
Final paint and a custom two level table for the gin & tonic hour.
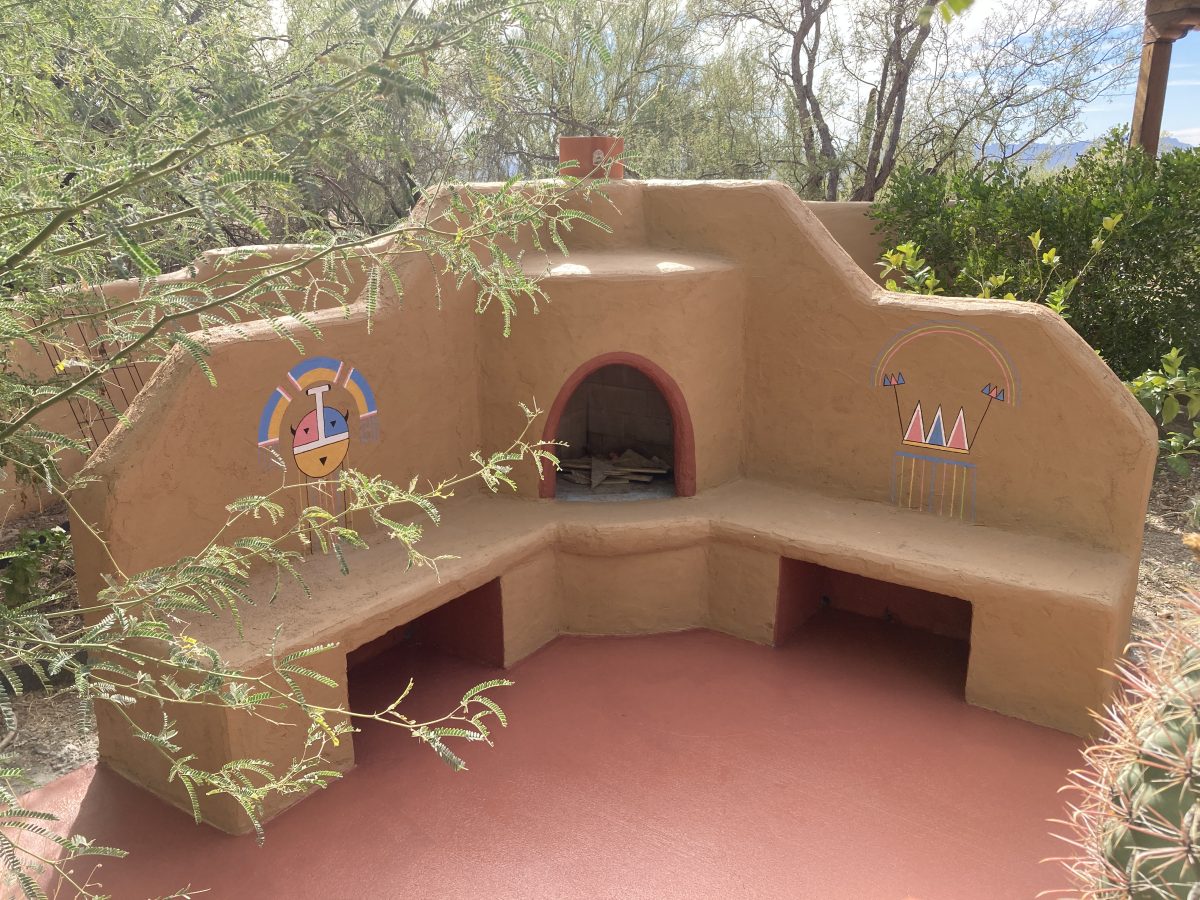
*The two Hopi designs were found on the support posts on the top floor of the Department of the Interior. Time for a fire–stay tuned!